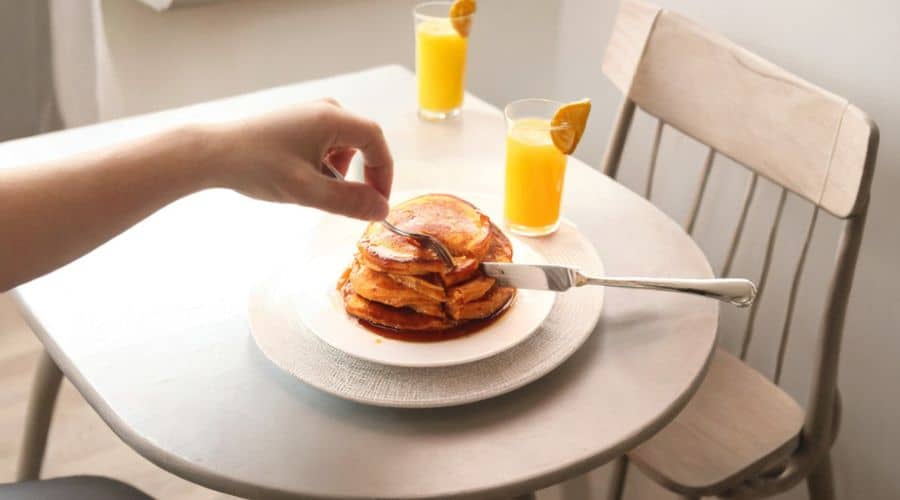
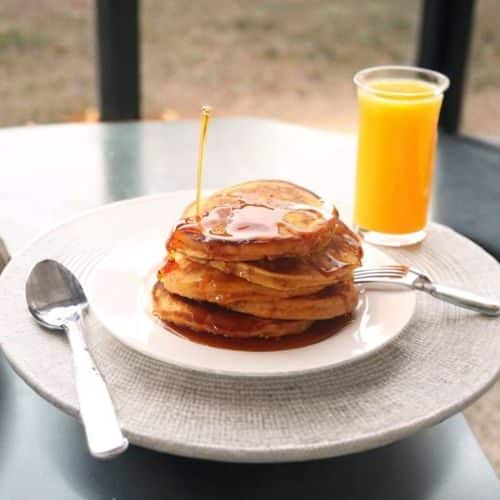
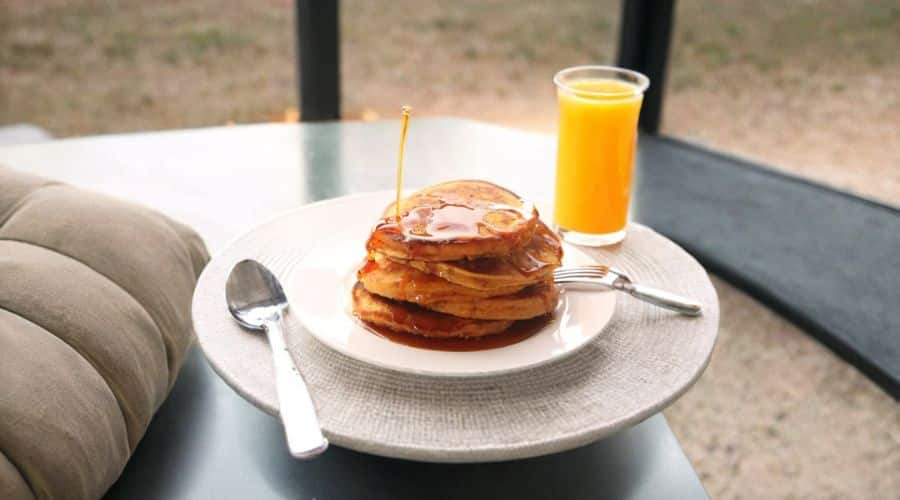
Sweet Potato Pancakes made from leftover mashed sweet potatoes offer a delightful twist on a classic breakfast favorite.
Their naturally sweet and earthy flavor combined with warming spices like cinnamon and nutmeg create a comforting and satisfying meal.

This recipe is not only delicious but also packed with nutritional benefits: sweet potatoes provide fiber and complex carbohydrates for sustained energy, while the addition of eggs contributes high-quality protein essential for muscle repair and satiety.
The use of sour cream and butter adds a touch of healthy fats, making these pancakes rich and flavorful without being overly heavy.
Quick to prepare and easy to customize, this recipe is perfect for busy mornings or weekend brunches.
It’s also a smart way to reduce food waste by transforming leftover mashed sweet potatoes into a fresh, crave-worthy dish.
Overall, these pancakes balance wholesome ingredients with convenience, making them an excellent everyday breakfast or snack option.
Must-Have Tools for Perfect Results
Nonstick Skillet
Essential for cooking pancakes evenly without sticking, this skillet ensures golden-brown, perfectly puffed pancakes every time. Its versatility makes it a staple for searing, frying, and sautéing in any kitchen.
Mixing Bowls (Set of 2)
Ideal for separating wet and dry ingredients, these bowls streamline the preparation process and make mixing effortless. Durable and easy to clean, they’re indispensable for baking and cooking tasks.
Whisk
This tool effortlessly blends wet ingredients into a smooth, consistent batter, preventing lumps and ensuring even cooking. A whisk is a kitchen must-have for mixing batters, sauces, and dressings with ease.
Measuring Cups and Spoons
Precision is key in baking, and these tools guarantee accurate ingredient amounts for consistent results. Compact and convenient, they’re essential for both novice and experienced cooks.
Ladle
Perfect for portioning pancake batter into uniform rounds, the ladle helps maintain size consistency and cooking evenness. It’s a versatile tool for serving soups, stews, and sauces as well.

Sweet Potato Breakfast Pancakes
Equipment
- 1 Nonstick skillet
- 1 Mixing Bowls
- 1 Whisk
- Measuring Cups and Spoons
- 1 Ladle
Ingredients
- 1 ¼ cups leftover mashed sweet potatoes
- ½ cup sour cream
- ¾ cup milk
- 1 large egg
- 1 ½ tablespoons maple syrup plus extra for serving
- 4 tablespoons butter divided
- 1 cup all-purpose flour
- ¾ teaspoon baking powder
- ¼ teaspoon baking soda
- ¼ teaspoon kosher salt
- Pinch nutmeg
- Pinch cinnamon
Instructions
- Prepare the Wet Mixture: Begin by gathering your leftover mashed sweet potatoes, sour cream, milk, egg, and maple syrup. In a medium-sized mixing bowl, combine the mashed sweet potatoes with the sour cream. Use a whisk or fork to gently break up any large lumps so the texture becomes smooth and creamy. Next, pour in the milk and crack the egg into the mixture. Add the maple syrup for a hint of natural sweetness. To add richness, melt 2 tablespoons of butter either in the microwave or on the stovetop in a small saucepan until just melted (do not brown it). Pour this melted butter into the wet ingredients. Now, whisk everything together vigorously until the mixture is completely uniform, with no streaks or lumps remaining. This wet batter base is what will give your pancakes their moist, tender texture and subtle sweetness.
- Combine the Dry Ingredients: Select a large mixing bowl to prepare the dry components of your batter. Measure out the all-purpose flour carefully and add it to the bowl. Sprinkle in the baking powder and baking soda — these leavening agents are crucial to help your pancakes rise and become fluffy. Add kosher salt to enhance flavor, along with a pinch of nutmeg and cinnamon to introduce warm, aromatic spices that complement the natural sweetness of the sweet potatoes. Using a whisk, stir the dry ingredients together until they are fully incorporated and evenly distributed. This ensures that every bite of pancake will have consistent flavor and rise.
- Mix Wet and Dry Ingredients Together: Now, it’s time to bring your batter to life by combining the wet and dry mixtures. Pour the wet mixture slowly into the bowl containing the dry ingredients. Using your whisk, gently fold the ingredients together just until the flour disappears and the batter is evenly moistened. Be careful not to overmix — a few small lumps are perfectly fine and help keep the pancakes light and fluffy rather than dense. Overmixing can develop gluten in the flour, leading to tougher pancakes. Once combined, let the batter rest briefly while you prepare your cooking surface.
- Heat the Pan and Prepare for Cooking: Place a nonstick skillet over medium heat and allow it to warm thoroughly. This step is essential to achieve a golden crust without burning. While the pan heats, melt 1 tablespoon of butter in the skillet, swirling it around so the entire cooking surface is coated evenly. The butter adds flavor and prevents sticking. The right pan temperature is key: too hot, and the pancakes will burn on the outside but remain raw inside; too cool, and they will cook unevenly and not develop that beautiful golden color.
- Cook the Pancakes on the First Side: Using a ladle, scoop approximately 1/4 cup of batter for each pancake and carefully pour it onto the hot, buttered skillet. Use the back of the ladle to gently spread and smooth the batter into roughly 4-inch wide disks for even cooking. Let the pancakes cook undisturbed for about 2 minutes. During this time, you can gently swirl the pan occasionally to help distribute heat evenly beneath each pancake. Look for small bubbles forming on the surface and the edges starting to set — this indicates the pancake is ready to flip. The bottom should be a rich golden brown, signaling perfect caramelization.
- Flip and Cook the Second Side: Carefully slide a thin spatula under each pancake and flip it over in one smooth motion. The second side will take slightly less time — about 2 minutes — to cook until golden brown and fully puffed. The pancakes should spring back slightly when gently pressed, showing they are cooked through. Avoid pressing down on them with the spatula, as this can deflate the fluffiness. Once the second side is done, transfer the cooked pancakes to a plate.
- Keep Pancakes Warm While Cooking Remaining Batter: If you’re making multiple batches, place the plate with cooked pancakes in a warm oven (around 200°F or 95°C) to keep them hot and maintain their soft texture. Repeat the cooking process for the remaining batter, adding more butter to the skillet if needed to prevent sticking and enhance flavor. This way, all pancakes stay warm and ready to serve together.
- Serve and Enjoy: Serve your sweet potato pancakes immediately while warm. Stack them high on a plate and drizzle generously with extra maple syrup for added sweetness. These pancakes pair beautifully with fresh fruit, a dollop of yogurt, or a sprinkle of chopped nuts for crunch. Enjoy the comforting aroma, the tender crumb, and the balanced sweetness that make this breakfast both nourishing and indulgent
Notes
Chef’s Secrets for Fluffy Pancakes
Achieving light, fluffy pancakes hinges on balancing moisture and leavening.
Start by whisking the wet ingredients until smooth to evenly distribute the mashed sweet potatoes.
Combining baking powder and baking soda activates a gentle rise, especially when paired with acidic sour cream, creating an airy texture.
Resting the batter briefly before cooking allows the gluten to relax, preventing tough pancakes.
Use medium heat on your skillet for even browning without burning.
Swirling melted butter over the pan ensures each pancake cooks with a subtle, buttery crust.
Lastly, avoid pressing down on the pancakes when flipping; this preserves their natural puffiness and tender crumb.
Serving Suggestions to Elevate Flavor
Sweet potato pancakes pair beautifully with a variety of toppings and sides. Drizzle warm maple syrup or honey for classic sweetness.
For a fresh contrast, top with Greek yogurt or a dollop of sour cream and a sprinkle of chopped pecans or walnuts for crunch.
Fresh berries or sliced bananas add natural brightness and extra vitamins.
For a savory twist, serve with crispy bacon or turkey sausage alongside a spinach salad dressed lightly with lemon vinaigrette.
These pancakes also make a fantastic base for brunch platters, paired with eggs cooked any style and fresh juice or coffee.
Storage Tips for Best Freshness
To keep pancakes fresh, cool them completely on a wire rack before storing.
Place pancakes in an airtight container or wrap them tightly with plastic wrap to prevent drying out. Refrigerate for up to 3 days.
To reheat, use a toaster oven or skillet over low heat to maintain crisp edges and a fluffy interior.
For longer storage, freeze pancakes by placing parchment paper between each pancake and sealing them in a freezer bag.
Frozen pancakes keep well for up to 2 months. Simply reheat from frozen in a toaster or microwave for a quick, ready-to-eat breakfast.
Frequently Asked Questions About Pancakes
1. Can I use fresh sweet potatoes instead of leftovers?
Yes! You can roast or boil fresh sweet potatoes, then mash them thoroughly. Allow the mash to cool before using it in the batter to maintain the right texture.
2. Can I substitute dairy ingredients?
Absolutely. You can replace sour cream and milk with plant-based alternatives like coconut yogurt and almond milk for a dairy-free version. Adjust the quantity slightly to achieve a similar batter consistency.
3. How do I prevent pancakes from sticking?
Use a well-seasoned nonstick skillet and melt butter before each batch. Avoid cooking on high heat, which can cause burning and sticking.
4. What if my batter is too thick or too thin?
If too thick, add a splash of milk to loosen it. If too thin, sprinkle in a bit more flour. The batter should be pourable but not runny.
5. Can I make the batter ahead of time?
Yes, you can prepare the batter and refrigerate it for up to 24 hours. Just give it a gentle stir before cooking. Avoid letting it sit too long, as leavening may lose effectiveness.
This recipe is inspired by seriouseats and has been carefully refined to enhance clarity, streamline preparation steps, and ensure accurate results. We’ve also included health benefits, nutritional highlights, and Must-Have Tools to help you get the best results every time you cook.


